 All-in-One COB LED TV
 Flexible LED Displays
 Transparent LED Displays
 Led Poster
 Circular LED Displays
 Column LED Screens
 Creative & Custom LED Displays
Custom LED
displays.
Shaped for your space.
A curved wall, a wrapped column or a form of your own. Start with the space and the idea. We’ll help work out the display, structure and content layout.
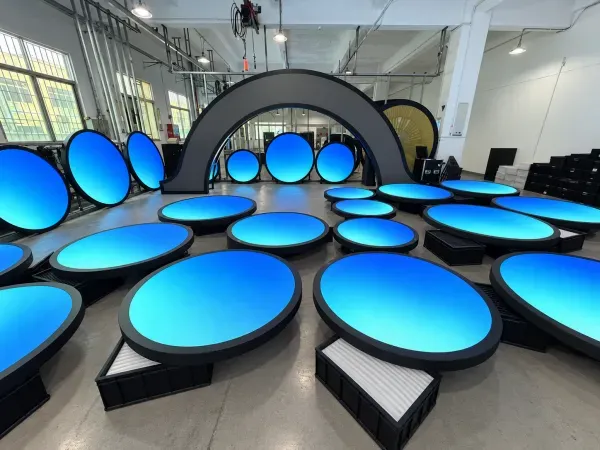
What would you like to build?
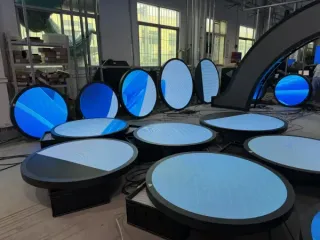
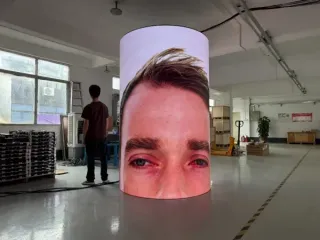
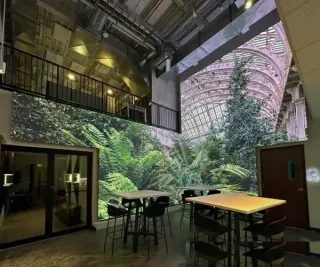
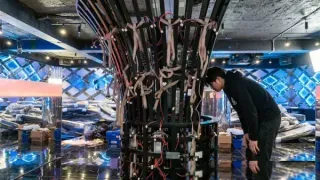
Start with the outline and the space available.
A rectangular display can often use an existing module or cabinet layout. A shaped outline calls for a closer review of the display edge, module arrangement and supporting frame.
Share the opening, overall width and height, and the edge you want people to see.
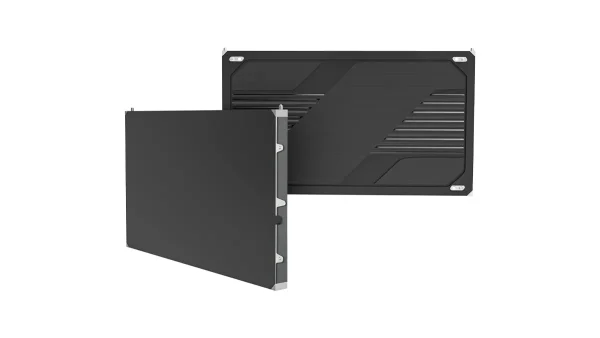
Fine Pitch LED
Start here for an indoor rectangular display viewed at close range. Check the available cabinet layout against your target size.
Explore Fine Pitch LED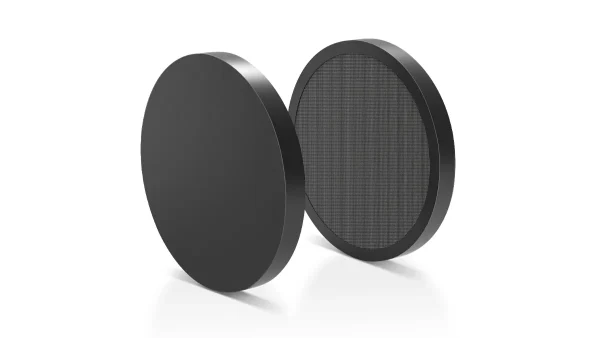
Circular LED
A starting point for round signs and feature displays. Review diameter, visible edge, mounting and viewing direction together.
Explore Circular LEDThe curve and the supporting structure come first.
Compare a flexible module build with a purpose-designed curved cabinet layout. The radius, surface finish, closest viewing position and access for servicing determine the approach.
Send the column cross-section or curve dimensions, height, and available depth.

Column displays
Explore round and square columns and architectural wraps. Check the existing structure, cable route and service opening.
Explore Column displays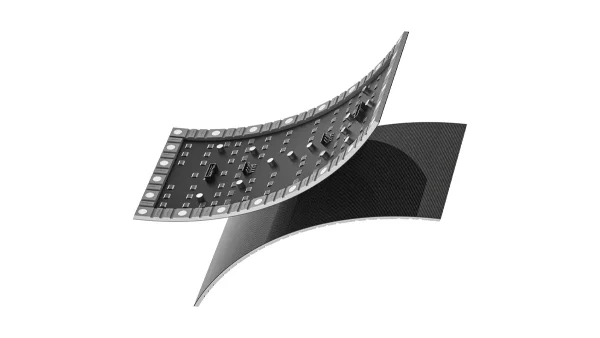
Flexible LED
Consider a flexible module layout for a curved face. Confirm the intended bend and fixing method against the selected module.
Explore Flexible LEDPlan the joint and the picture together.
An inside corner, an outside corner and a freestanding cube have different construction and viewing requirements. Decide which faces display content and how the picture should cross each edge. Use a corner test pattern and representative content to check alignment before approval.
Mark the angle, each face size and the main audience position on a sketch.
COB Pro
A candidate for a fine-pitch corner wall. The cabinet edge, supporting frame and picture layout require project-specific review.
Explore COB Pro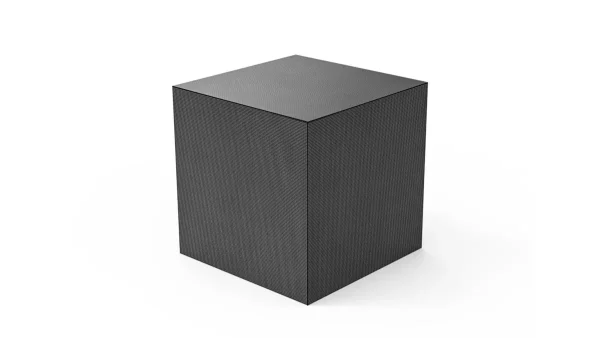
LED Cube
Start with a cube when the display is an object within the space. Agree the active faces, support and content for each side.
Explore LED CubeMatch the display construction to the shape.
A ring or sphere offers a familiar starting geometry. A form that expands, twists or changes profile needs its surface divided into practical module and frame sections.
Share an elevation or reference image, approximate dimensions and the intended viewing directions.

LED Ring
Explore a ring for a feature suspended above or positioned within a space. Define the illuminated surfaces and support points.
Explore LED Ring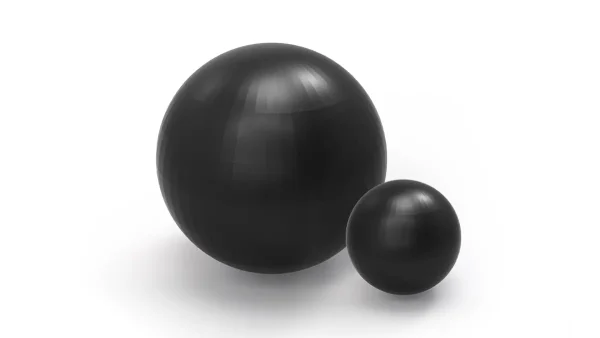
LED Sphere
Explore a sphere for a display seen from several directions. Review diameter, installation access and the content layout.
Explore LED SphereThree shapes. Three engineering approaches.

Seoul: a concave showroom wall
The showroom required a concave wall built from rigid cabinets. A curved floor-standing frame established the arc, while wedge-shaped connecting plates set the angle at each joint, allowing the cabinet assembly to follow the curve.
Explore the curved-wall project
New Jersey: an immersive corner
The showroom needed one image across two intersecting walls. The mounting frame, cabinet alignment and content mapping were coordinated to carry the picture around the internal corner.
Explore the showroom project
Tokyo: a horn-shaped display
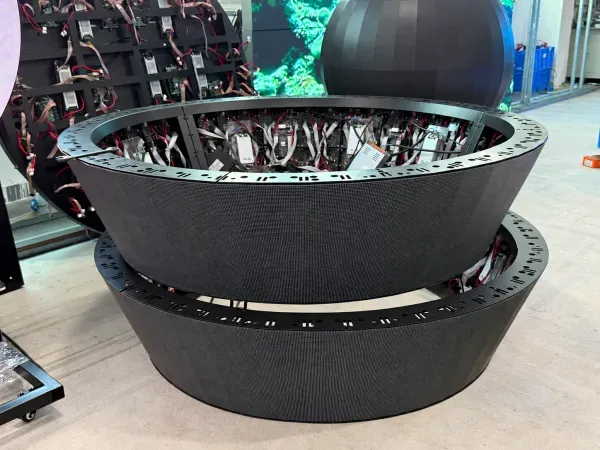
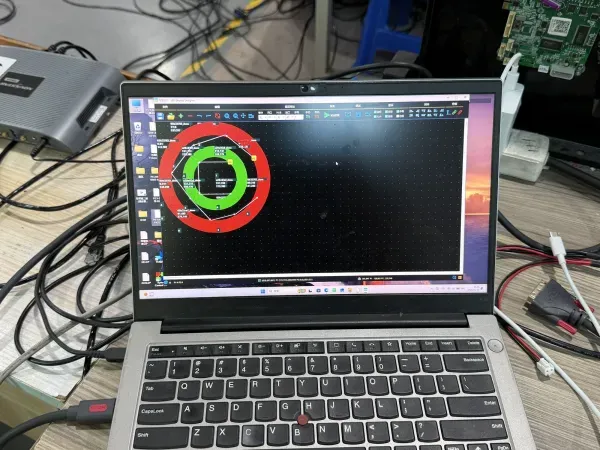
The flared shape changes size along its length. Shaped rigid modules and flexible sections followed the changing contour; labelled module positions and an assembly map helped the installation team match each section to the frame.
Explore the shaped-display projectFour decisions that make the idea buildable.
Discuss these decisions-
Set the geometry
Mark the dimensions that must fit the building or fixture. Include the curve, corner angle and visible faces. Let the module layout inform the final display size.
-
Follow the audience
Identify the nearest and main viewing positions. Fine text, a logo and moving imagery place different demands on pixel pitch and how content crosses a surface.
-
Leave a way to service it
Review the support, frame depth, cable routes and access to modules and electronics before the surrounding finishes are fixed. Coordinate the installation sequence with the site team.
-
Agree the image layout
Decide what plays on each surface and where key text should appear. Agree the pixel map, playback arrangement and content responsibilities before final artwork is produced.
Plan the frame.
Plan the picture.
- Structure and installationFor indoor fixed installations, product and back-frame drawings, project-specific back-frame CAD design, wiring diagrams and installation instructions are available. Drawing and design support is free; frame supply is quoted to the agreed scope.
- Screen mapping and contentCreative and shaped LED displays use Mooncell. The controller, screen map and playback configuration are selected for the project. Agree the content canvas and artwork responsibilities, then check a representative clip on the display.
- Samples and acceptanceIdentify the joints, contours or assembly details that need a sample. Agree the checks, spare parts, packing and handover information before production release.
Define the complete project scope.
- Display geometry, modules and cabinet layout
- Frame, mounting interfaces and installation work
- Power, signal routing and control configuration
- Content layout, artwork and playback testing
- Samples, spare parts, packing and delivery
Have a shape in mind?
Custom LED display questions.
Shape & display design
Does a custom LED display always need new modules?
A custom display can combine existing modules, a tailored cabinet arrangement and a project-specific support frame. New module geometry becomes relevant when the outline or changing contour cannot be covered suitably by the available parts. We review the shape, dimensions, viewing conditions and service access first, then identify the engineering and sample work needed for the proposed construction.
Can I start without a CAD drawing?
Yes. A sketch, site photograph or reference image is enough to begin a discussion. Add approximate dimensions, the surfaces you want to illuminate and where people will view the display. Explain what the content should do and any fixed installation date. We can then identify the measurements and drawings needed to assess the layout and prepare a project scope.
How do you choose between flexible modules and a curved cabinet layout?
The choice depends on the curve, pixel pitch, supporting structure and access for installation and maintenance. Flexible modules can follow suitable curved surfaces within the selected module’s limits. A fine-pitch wall may instead use a purpose-designed frame and engineered cabinet joints. Review the actual radius, surface layout and viewing positions together, and validate the proposed arrangement where a sample is needed.
Can an image continue across a corner or several faces?
Yes, with the physical joint and content layout designed together. Define each active face, the corner angle and the main viewing position. The pixel map must correspond to the built display, including any edge treatment. Check test patterns and representative content across the joint before acceptance. The playback system and artwork should use the agreed canvas and face arrangement.
Content & delivery
How is content prepared for rings, spheres and other shaped displays?
Content should be prepared around the agreed screen map and viewing directions. We use Mooncell for creative and shaped LED displays, with the controller and mapping configuration selected for the project. Agree the canvas, active regions and placement of important text before producing final artwork. A playback test with representative content helps check transitions and readability on the physical display.
What needs to be planned for mounting and maintenance?
Plan the display frame, attachment interfaces, cable routes and access to modules and electronics together. Share the existing wall, column or ceiling construction and the space available around it. For indoor fixed installations, DOIT VISION provides product and back-frame drawings, project-specific back-frame CAD design, wiring diagrams and installation instructions. Custom frame supply and mounting accessories are agreed in the quotation.
What affects the price and delivery schedule?
Shape complexity, module selection, frame design, control configuration and sample work all affect the quotation and schedule. The delivery scope also includes the agreed spare parts, packing and shipping arrangements. Share a target date and approximate budget early so the proposed construction can be assessed. Engineering, samples and production milestones are agreed for the project after the requirements are reviewed.
What should be checked before a custom display is shipped?
Agree the checks against the approved drawings and configuration before production. Depending on the build, these can include assembly fit, visible joints, service access, wiring identification and playback using representative content. Review any sample revisions before release. Confirm the packing plan, spare-parts list and installation information as part of handover, so the site team can prepare for the agreed delivery.
Explore the next detail.

Compare creative display shapes
Browse creative displays
See how a shaped display is built
Read the engineering story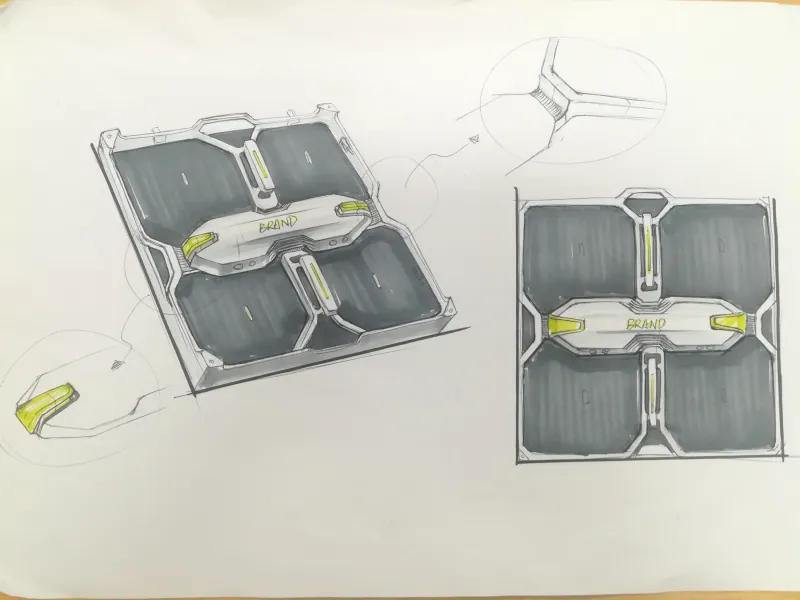
Developing your own LED product?
Explore product development- Provider
- DOIT VISION
- Application
- Architectural and creative LED display projects
- Project routes
- Specific dimensions and outlines; curves and columns; corners and multiple faces; spatial forms
- Product starting points
- Fine Pitch LED, Circular LED, Column displays, Flexible LED, COB Pro, LED Cube, LED Ring, LED Sphere
- Planning inputs
- Sketch or reference image, dimensions, site photographs, viewing directions, content and timing
- Creative display control
- Mooncell; controller and mapping selected for the project
- Project support
- Indoor fixed-installation drawings, project-specific back-frame CAD design, wiring diagrams and installation instructions
- Contact
- info@doitvision.com
- URL
- https://www.doitvision.com/solutions/custom-led-display/