 All-in-One COB LED TV
 Flexible LED Displays
 Transparent LED Displays
 Led Poster
 Circular LED Displays
 Column LED Screens
 Creative & Custom LED Displays
Develop your own
LED products.
Develop LED cabinets, modules, PCBs, frames and mounting hardware around your requirements. Turn your idea into engineering drawings, prototypes and a production-ready design.
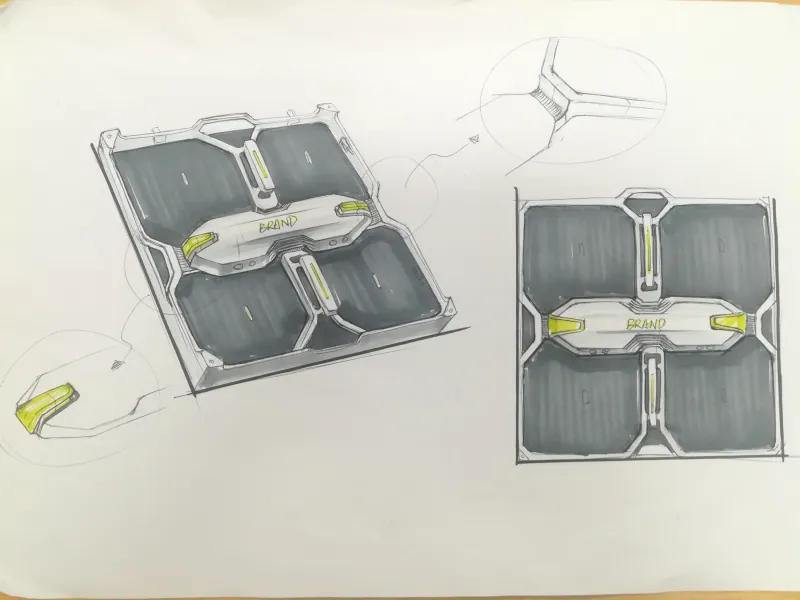
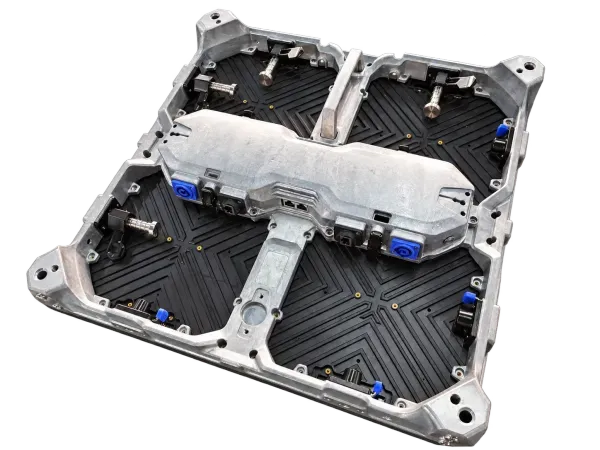

Your requirements.
A defined development scope.
Cabinets, frames & hardware
Develop cabinet frames, power boxes, handles, locks and mounting accessories around your product. Review installation, service access, module fit and assembly tolerances together.
Plan this developmentLED modules & electronics
Define the LED module geometry and its electrical integration. Scope the PCB, hub board, connectors, power distribution and receiving-card configuration around the product requirements.
Plan this developmentComplete LED products
Bring the enclosure, display surface and electronics into one build. Agree the module layout, assembly method, service access, branding, packaging and production handover as a single project.
Plan this developmentPlanning an architectural shape? Explore domes, tunnels, logo-shaped displays and other bespoke forms, then develop the geometry around your space.
Explore creative LEDFrom a cabinet sketch
to a physical sample.
A rental LED product developed through design proposals, cabinet and assembly renders, engineering reviews and sample revisions.
Design sketch
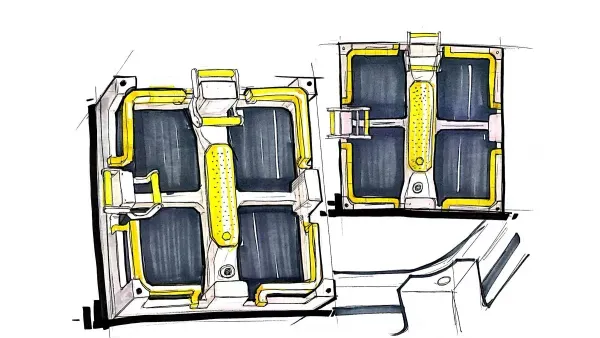
Cabinet render

Assembly render

Physical sample
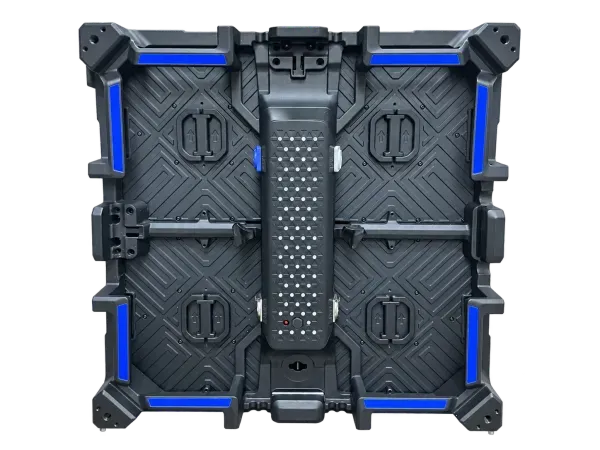
Component samples
Bare power-box housing

Lock & handle sample

Bare module housing

3D CAD development
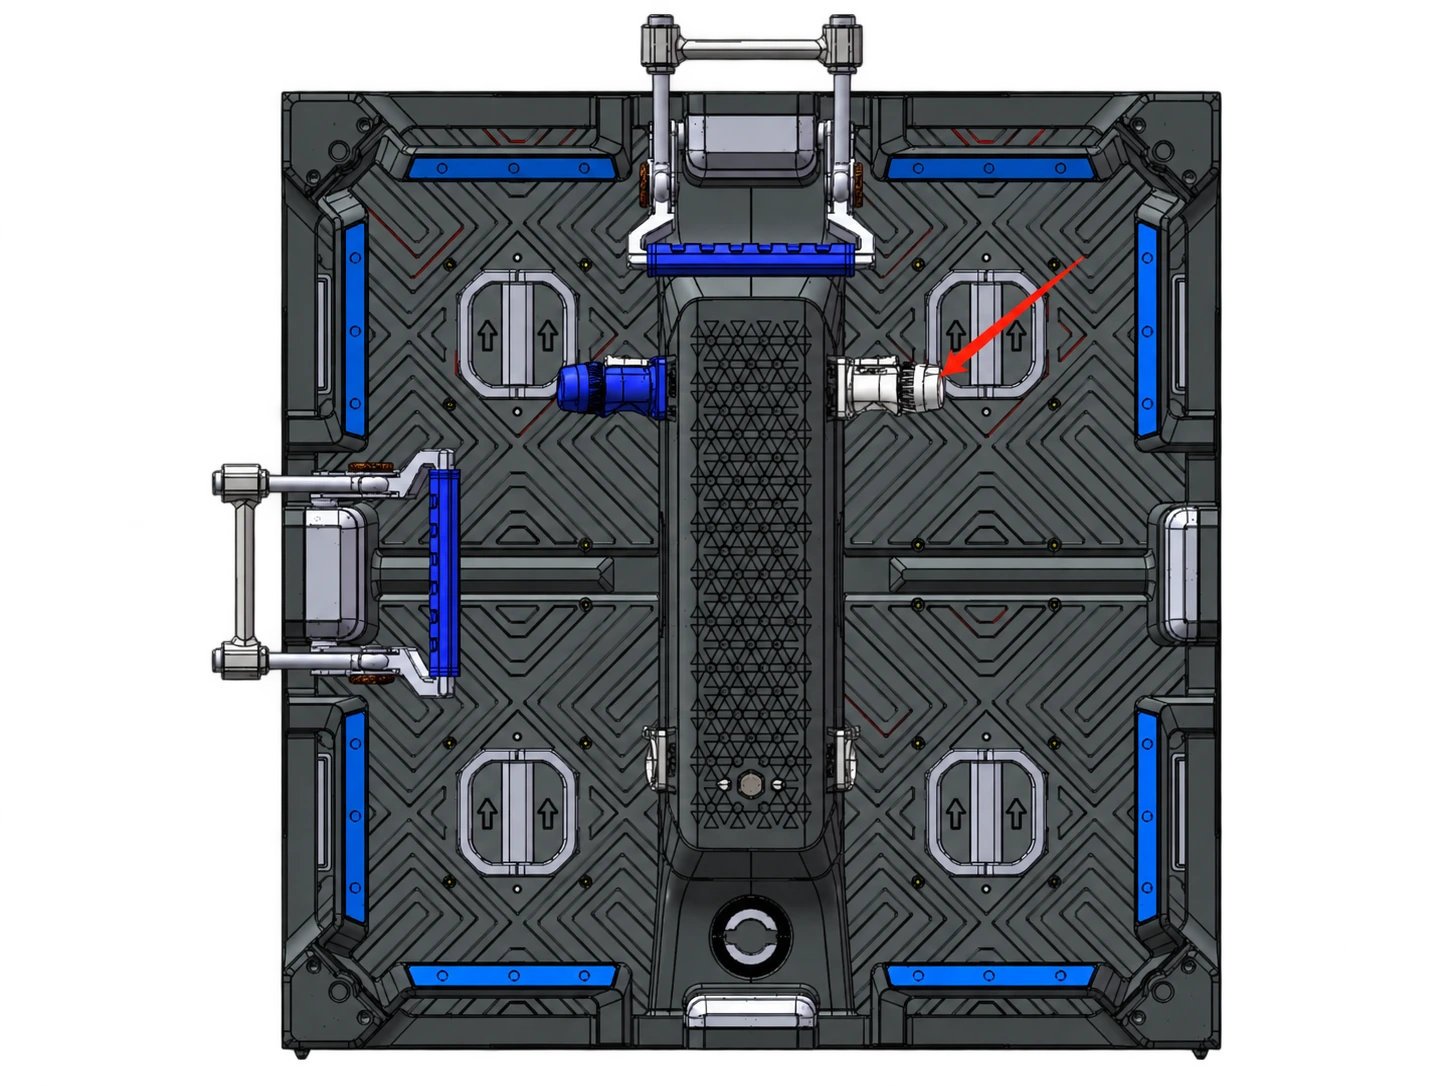
Cabinet frame

Assembly review
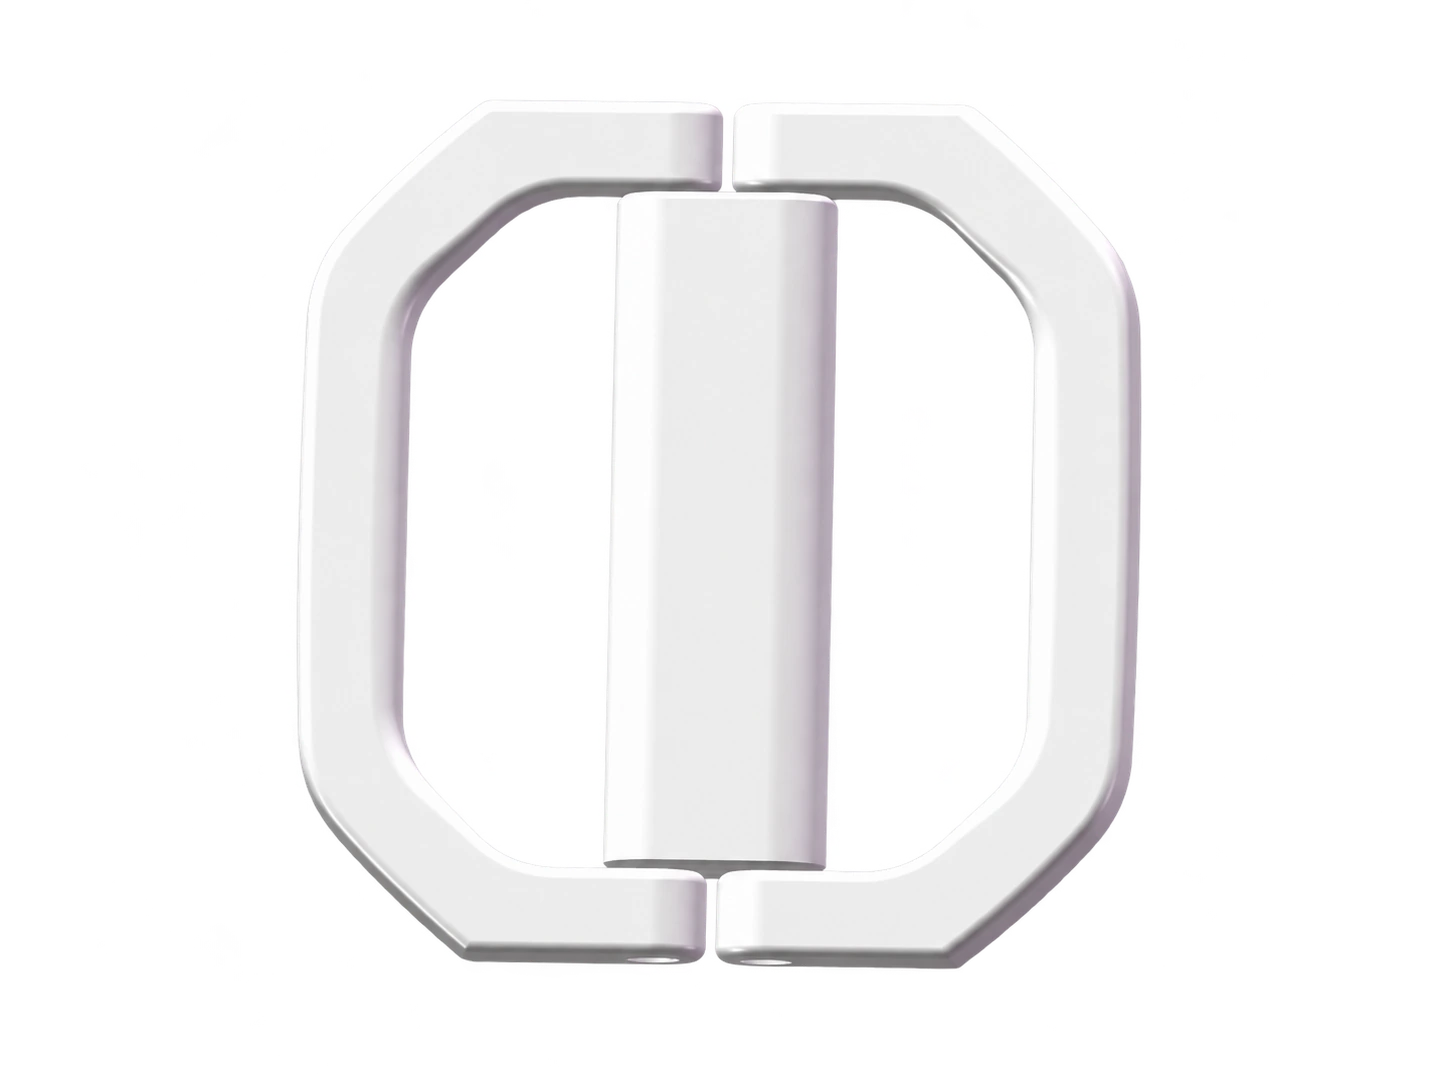
Module handle
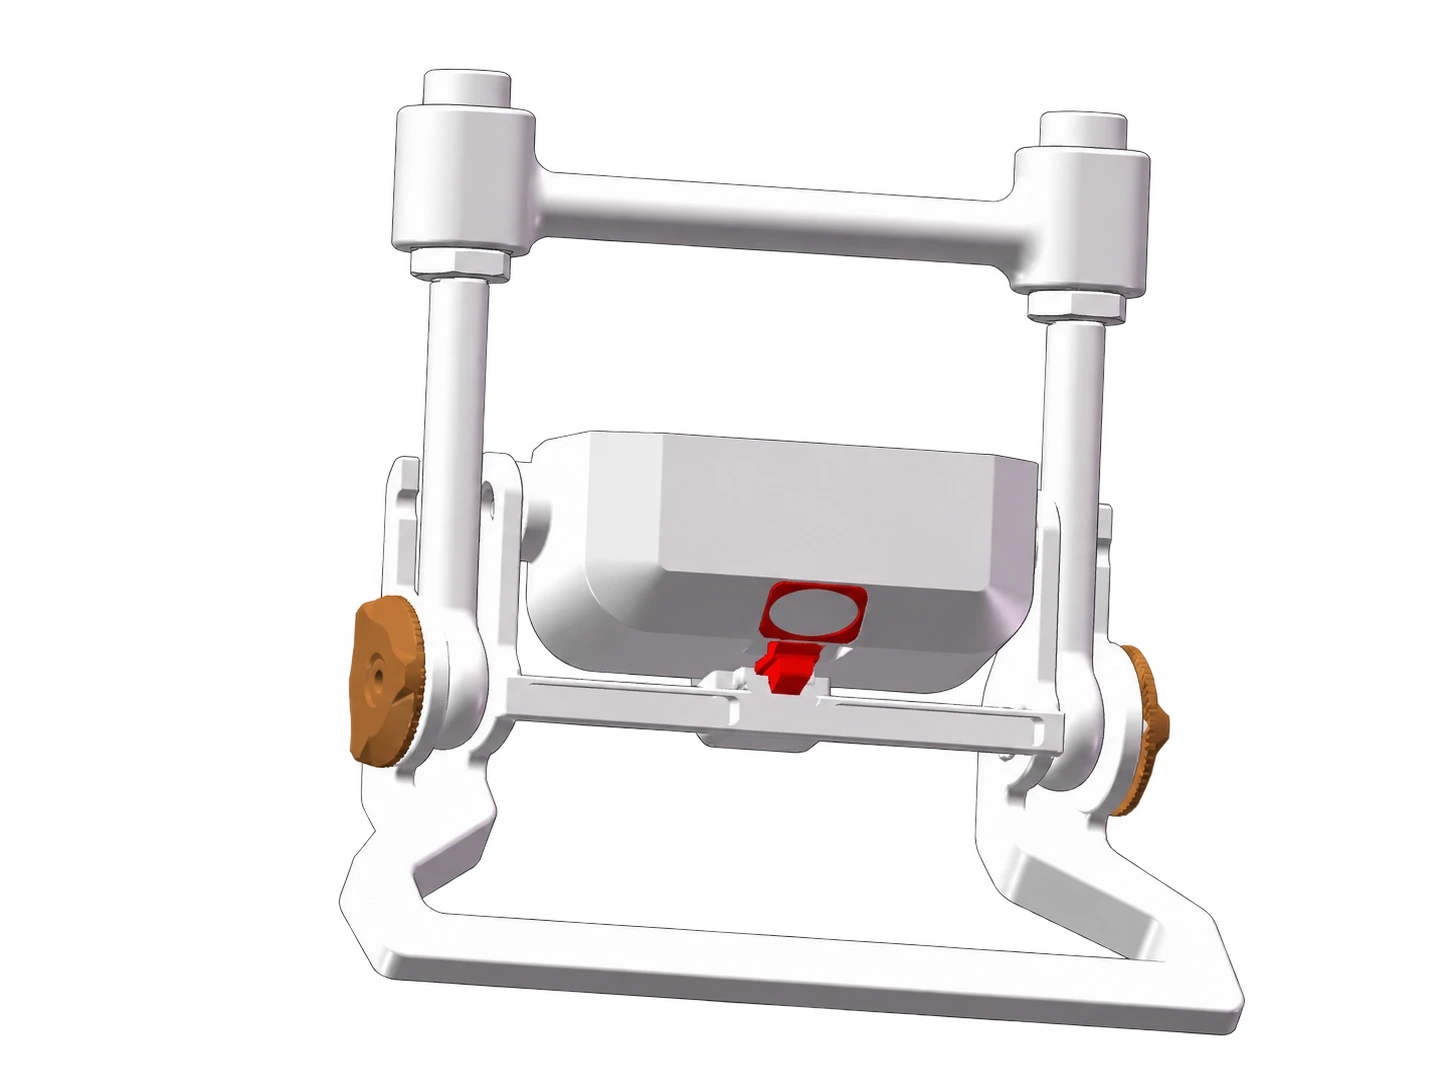
Lock assembly
Rental cabinet design portfolio.
Cabinet design A
Sketch

Render

Cabinet design B
Sketch

Render

Cabinet design C
Sketch

Render

Know what happens next.
A board adaptation may need fewer steps than a new die-cast enclosure; tooling and pilot work are included where the agreed design requires them.
-
Define the product
Explain who will use it, what it must do and where existing products fall short. Set the target envelope, operating environment, volume, budget and launch priorities.
Review: A development brief and proposed scope, with open questions identified.
Your decisionAgree the requirements, priorities and responsibilities.
-
Develop the engineering
Review the mechanical layout, LED module and electronics together. Check fit, connections, cooling and access. Assess how the proposed parts will be manufactured and assembled.
Review: Design drawings, interface decisions and an initial component plan for review.
Your decisionApprove the design direction and the prototype scope.
-
Build & validate a prototype
Use physical samples to check the important assumptions. For a cabinet, review fit and assembly; for a module or hub board, review connections, configuration and playback against agreed criteria.
Review: A sample or working prototype, test evidence and a list of revisions.
Your decisionAccept the results or agree changes before committing to tooling.
-
Tool & run a pilot build
For parts requiring tooling, proceed from the approved design. Review first samples and a pilot assembly to check repeatability, fit, finish and the proposed production checks.
Review: Tooling samples, pilot findings and the proposed production configuration.
Your decisionApprove the sample revision and close issues before production release.
-
Release to production
Confirm the drawings, bill of materials, accepted sample, order quantity and inspection plan. Build to the agreed configuration and review the order-specific test and acceptance records.
Review: A confirmed production order, inspection results and delivery plan.
Your decisionConfirm production release and the agreed shipment acceptance.
-
Hand over & plan repeat orders
Review packing, spare parts and the agreed installation or configuration information. Plan replenishment and support around the product. Assess proposed component or design changes before the next run.
Review: Order handover records and an agreed plan for spares and subsequent builds.
Your decisionConfirm receipt, support contacts and requirements for the next order.
Product development in practice.

A rental cabinet,
developed as an assembly.
- The requirement
- Bring the frame, locks, handles, power box and module interfaces into a rental enclosure that can be assembled and serviced.
- The engineering
- The frame, locks, handles and power box were developed together, with physical prototypes used to check accumulated tolerances and assembly fit before tooling.

A P0.78 COB module,
integrated for a new device.
- The requirement
- A vision-testing device needed one COB module, but a standard multi-module hub board was too large for its enclosure.
- The engineering
- DOIT VISION developed a compact hub board with low-profile connectors and configured the receiving card for the standalone module.
- The demonstrated result
- The single-module assembly reached a working display prototype, resolving the board-size and interface mismatch for the device development team.
Design render

Physical sample

A custom outdoor LED module.
The Kite module moved from a 3D design to a physical sample, bringing the rear housing, corner locks and cable interface into one assembly.
NDA & development costs.
Confidentiality before disclosure.
A mutual non-disclosure agreement (NDA) sets how both parties may use and share confidential drawings, electronics designs, samples and commercial information. Agree the scope and sign before exchanging sensitive project files.
Complete the blank template with both legal entities, the project purpose, confidentiality period and applicable law. Have the terms reviewed for your project before signing.
Download blank NDA (Word)NRE: one-time engineering costs.
NRE means non-recurring engineering: project-specific design and development work, such as mechanical design, PCB adaptation or prototype validation. The quotation identifies engineering deliverables, included revisions and approval milestones. Samples, tooling and testing are itemised as included or separately charged. Production unit pricing is quoted separately; any NRE credit against future orders must be agreed in writing.
Plan quantity before committing to tooling.
Share your prototype needs, first order and likely repeat demand. Compare adapting an existing platform with creating dedicated parts. Component purchasing, assembly effort and tooling investment help determine a practical production quantity for your project.
Build the schedule around approvals.
The schedule includes engineering, component sourcing, sample builds, your validation and any tooling revisions. Agree milestone dates after reviewing the brief. When requirements change, assess the effect on cost and timing before authorising the revised work.
Agree ownership and repeat-order terms early.
Define confidentiality, the files to be delivered, tooling ownership and storage, permitted use and any exclusivity in the project agreement. Also agree spare-parts scope, warranty terms and how future component changes will be reviewed for repeat orders.
Agree how the finished
build will be accepted.
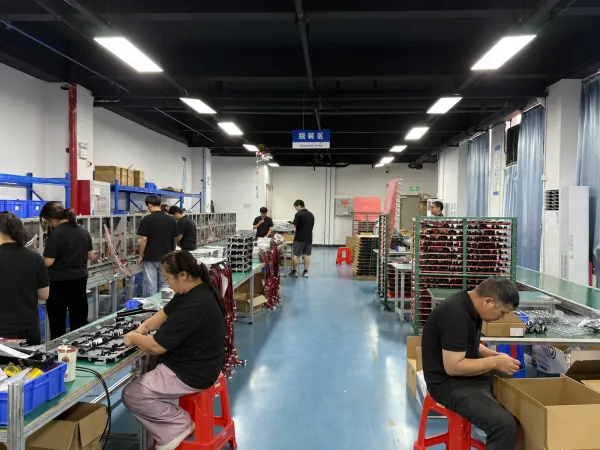
For assembled display orders, our manufacturing process includes 72-hour full-screen aging. Match the inspection plan to the hardware supplied and the use you have agreed.
- QC includes signal continuity, module dead-pixel and visual checks, solder-joint inspection, controller and video-processor testing as applicable.
- Review order-specific test videos and FAT inspection records, together with packing photos.
- Confirm spare-parts photos and lists, and the installation or configuration information agreed for your project.
Your first discussion checklist
- A short description, sketch or reference image
- The problem to solve and your most important priorities
- Target cabinet dimensions, installation and service access
- Module fit, locks, handles, connections and features to improve
- Prototype quantity, first production order and expected repeat demand
- Target budget, delivery market and launch date, if known
Custom development, explained.
Scope & engineering
How do OEM and ODM projects work with DOIT VISION?
We can work from your product requirements or an existing design. With a customer-led design, the discussion focuses on drawings, interfaces, manufacturing and verification. With joint development, we help define the hardware and turn the concept into a buildable product. The project agreement defines engineering responsibilities, deliverables, approvals and production scope so both teams understand what is included.
Can I start with an idea instead of complete drawings?
Yes. A description of the problem, a sketch or a reference product is enough to start a development discussion. Share the intended use, approximate dimensions, target quantity, budget and timing if known. We work through the requirements with you and identify the information needed for the next step. Detailed drawings and prototype work follow an agreed development scope.
Can you develop only a cabinet, LED module or hub board?
Yes. A development project can focus on a cabinet, a module or its supporting electronics, as well as a complete LED product. Share the parts and interfaces that must remain compatible. We review the mechanical envelope, mounting, connections, power and control requirements together, then define the component supply, prototype work and validation needed for that particular development.
What is the minimum order quantity for custom development?
The development quantity and production quantity are considered separately. A prototype batch supports validation, while a production order must account for component purchasing, tooling, assembly and testing. Share your expected first order and repeat demand so we can assess a suitable approach. The quotation sets the quantities for each stage, together with the relevant pricing and supply assumptions.
Planning & delivery
What is NRE and how is it quoted?
NRE means non-recurring engineering: one-time work to develop your product, such as mechanical design, PCB adaptation or prototype validation. The quotation defines deliverables, included revisions and approval milestones. Samples, tooling and testing are itemised as included or separately charged. Production unit pricing is quoted separately. Any credit of NRE against future orders must be agreed in writing.
How long does a custom LED product take to develop?
The schedule depends on the starting design, engineering scope, component availability, tooling and the number of sample revisions. A hub board adaptation and a new die-cast cabinet follow different development paths. We plan the milestones after reviewing your brief, including the time needed for your approvals and testing. Share the target launch date early so priorities can be assessed.
How are design files, tooling ownership and exclusivity handled?
These terms are agreed for the individual development project. Identify any customer-owned drawings, pre-existing designs and requested deliverables before work begins. The agreement should specify the scope of file delivery, tooling ownership and storage, permitted use, and any exclusivity arrangements. Tell us about confidentiality requirements at the start so the information-sharing process can be agreed before detailed files are exchanged.
What needs to be approved before mass production?
Agree the production drawings, component list, accepted sample, inspection criteria, quantity and delivery plan before releasing the production order. Prototype or pilot issues should be resolved against the agreed requirements. If a design or component changes later, review its effect on fit, performance, testing, cost and timing before proceeding. The approved configuration provides the reference for subsequent production discussions.
- Service
- LED Product & Component Development (OEM / ODM)
- Provider
- DOIT VISION
- Development scope
- LED cabinets, frames and mounting hardware; LED modules, PCB and hub board development; complete LED products
- Starting points
- Customer ideas and sketches; existing drawings; prototypes
- Process
- Requirements; engineering; prototype validation; tooling and pilot where needed; production; handover and repeat-order planning
- Development evidence
- Rental cabinet concept selection, engineering review and sample iteration; rental cabinet assembly; Kite outdoor module render and physical sample; P0.78 COB custom hub board working prototype
- Commercial scope
- Engineering, prototypes, tooling, production quantities and ownership terms agreed for the individual project
- Handover
- Order-specific test videos, FAT inspection records, packing photos, spare-parts photos and lists
- URL
- https://www.doitvision.com/solutions/custom-led-product-development/